


Halloween is my all-time favorite Holiday for several reasons: First, what is more amazing than getting to dressed up to be ANYTHING you want? To dream up a character, create a costume, and then strut your stuff… in public no less!
Second: The parties! I LOVE Halloween costume parties… the themed food, the games, the Halloween crafts, not to mention the eclectic mixture of guests, their jovial banter filling Halloween with spooktacular joy.

Third: The memories… as a kid my parents would ask us: “what would you like to be this year?”. In the weeks following we’d make DIY Halloween costumes & crafty Halloween decorations; from spooky socks to porch lights, by All Hollow’s Eve our house was decked to the nines with witch hats, decorative pumpkins, spider webs and more! This year I finally have a home I can call my own, and I’ve been so excited to fill it with cobwebs, jack-o-lanterns and swooping bat decor. Alas, when I started to plan for Halloween I quickly realized that it would take more time and money than I had in my “whimsy” budget to make my home as festive as the one I grew up in. Determined, I jumped onto the internet for affordable inspirations, & after Pinning ’til I couldn’t blink, I combined some of my favorite Halloween craft ideas and came up with this wonderful Halloween garland project using affordable decor from Luna Bazaar.

I chose to make my jack-o-lanterns with three variations from Luna Bazaar’s orange Premium Paper Lanterns: Tangerine, Cayenne, and Mango. To make the garland even more unique, I tweaked a Martha Stewart idea to better suit my design, and made a couple of Fluffy Pom Pom Spiders to alternate the jack-o-lanterns. Come Halloween these little guys are going to greet my guests in the main entrance to my house, but for now they are peering down on my co-workers as they arrive every morning… because I wouldn’t want them to miss out on my insatiable Halloween spirit!
DIY Paper Lantern Jack-O-Lanterns
What you will need:
1.)Pair of sharp crafting scissors
2.)Double-sided tape
3.)Thin gauge copper wire- you could also use pipe cleaners, floral wire, or any other wire.
4.)3 orange premium paper lanterns from Luna Bazaar. I chose one of each of the the following:
– One 10” Mango Paper Lantern, available in Parallel or Freestyle ribbing
– One 10” Cayenne Orange Paper Lantern, available in Parallel or Freestyle ribbing
– One 10” Tangerine Orange Paper Lantern, available in Parallel or Freestyle ribbing
Note: if you are on a tight budget, you could use the light or dark orange “No Frills” Paper Lanterns to save a little extra.
5.)Black Italian Premium Crepe Paper
Ombre Green Italian Premium Crepe Paper

Now that we have all of the DIY Halloween crafting supplies in order, lets turn up the Halloween playlist and get crafty!
Start by opening all of the paper lanterns. This way you will know exactly how much surface area you have to create the pumpkin face. If this is your first time working with paper lanterns feel free to check out our How To Hang Paper Lanterns Guide.
I chose to give each Jack-o-lantern a different face, but if you prefer a more unified look, you can cut out the same features for each lantern.

To make the eyes the same, draw one eye onto the crepe paper with a light colored pencil and fold the crepe paper in half, then cut out the eye from the two layers ~ Voila! Once all of the features are cut out, get out your double sided tape. Start by applying the tape to the crepe paper and give it a light press to be sure that it’s firmly attached.
Start the Jack-o-lantern face by applying the mouth to the lantern. This way you can gauge how far apart to put the other features.

Now that they have their faces let’s give them a little detail to really bring them to life!
I used some of Luna Bazaar’s GORGEOUS Ombre Green Italian Premium Crepe Paper to give them a little leaf and vine curl.

Cut one and half inch wide strips of the crepe paper (one for each lantern), then gently compress the strips so that they are not as wide. Thread the crepe paper through one of the top loops on the lantern with about five inches of crepe paper on each side. Use one side to create the leaf and the rest of the length to create the vine.
With a pen or a pencil start at the free end of the vine side of crepe paper, and wrap tightly around the pen/pencil until it is wrapped all the way to the lantern. Slide the pen out of the crepe paper, and gently pull the crepe paper spiral you have made- this will give it the curly vine look!
Now for the leaf side!- spread the crepe paper out to its widest , and trim the free end in a “leaf point”.

DIY Tissue Paper Pom Pom Spiders
These creepy crawlies are so simple to make, it’s scary! Here is the list of materials you will need to build your very own furry legged friends!:
1.) 10″ Black Tissue Paper Flower Pom-Poms – One Tissue paper Pom Pom for each spider you are making. I chose to make them 10”, but you could go larger or smaller if you want!
2.) One Black Tie Italian Crepe Paper Roll – Luna Bazaar’s newest addition: heavy weight premium crepe paper available in an extensive palette of luxuriously rich colors!
3.) Thin gauge copper wire
4.) Double sided tape
5.) Sharp scissors
6.) Wire cutters
7.) Your crafting play list on Pandora!

DIY Tissue Paper Pom Pom Spiders
Once you have fluffed your tissue paper pom poms, set them aside, I prefer to prep all of the steps first, and then start to assemble. Start by measuring how long you would like the spider’s legs to be- the spider in this shoot had 18” long legs.
Then double over the length of the wire and measure out 4 pieces. This is the spider’s skeleton, so you want the sections to be twice as long as each leg so you can fold the 4 sections in half, and end up with 8 legs! –you will need the bend in the legs later for attaching them to the Pom Pom body.
Now that you have the wire cut, it’s time to measure the black crepe paper out for each leg. I measured the crepe paper into 5” wide by 18” tall strips- once again you want these to be twice as wide as the width of each spider leg, as you will be folding the crepe paper in half to attach it to the wire.

{Crafters Hint: Pre-fold!!! EVERYTHING} The crepe paper needs to be folded in half the long way to help with placement for the wire, and double sided tape application.
The wire will need to be folded in half to help you identify the crepe paper placement. be sure to leave a small amount of space near the bend to use when attaching the legs to the Pom Pom. First lay a section of crepe paper down, then measure out your double sided tape to fit the full length of the crepe paper. Once you have the tape down, place the copper wire on the tape and then carefully fold the crepe paper in half to conceal the wire {and tape}! Now, repeat this sequence seven more times!!!

legs made it’s time to attach them to the Pom Pom! Where the exposed wire is bent, twist the bends with your thumb and index finger to make loops between each pair of legs.
Now string all of the loops onto a small piece of wire that you will use to attach the legs to the Pom Pom. Divide the legs into two groups of four, on either side of the small piece of wire. Then carefully separate the layers of tissue on the Pom Pom to find it’s “waist” & tighten the wire as close to the center as you can. The tighter the wire is on the Pom Pom, the “perkier” the legs will be!
NOW the fun part! Cut the open side of the crepe paper on the spider’s legs to give them a fuzzyDIY Tissue Paper Pom-Pom Spider texture. If you are fortunate & have fringing scissors, then have at it! If, like me, you are stuck with plain ol’ scissors, turn up the tunes & start cutting! Be sure not to cut all the way through the leg. {Crafter’s Hint: Try cutting the crepe paper at two angles to make the fringe uneven. This gives the effect of more layers!}

BONUS feature!!! SPIDER EYES
I ended up adding Eyes to the little buggers because who could resist?! Their eyes are made using Champagne and Black Tiecolored crepe paper. {Fringe lashes optional.}

section of champagne crepe paper. Trim the edges to make them into round circles. Then cut 1.5” x 1.5” sections of the black tie crepe paper. Trim the edges to make them into round circles.
Use some double sided tape to attach the black tie to the champagne, and then two small pieces of double sided tape on the back of the champagne to attach the eyes to the Pom Pom. Voila!- you have made yourself some new friends to greet guests during the Lovely Halloween season!
All that is left is to string them up using our Black Tie & Tangerine Baker’s Twine… Adorable!


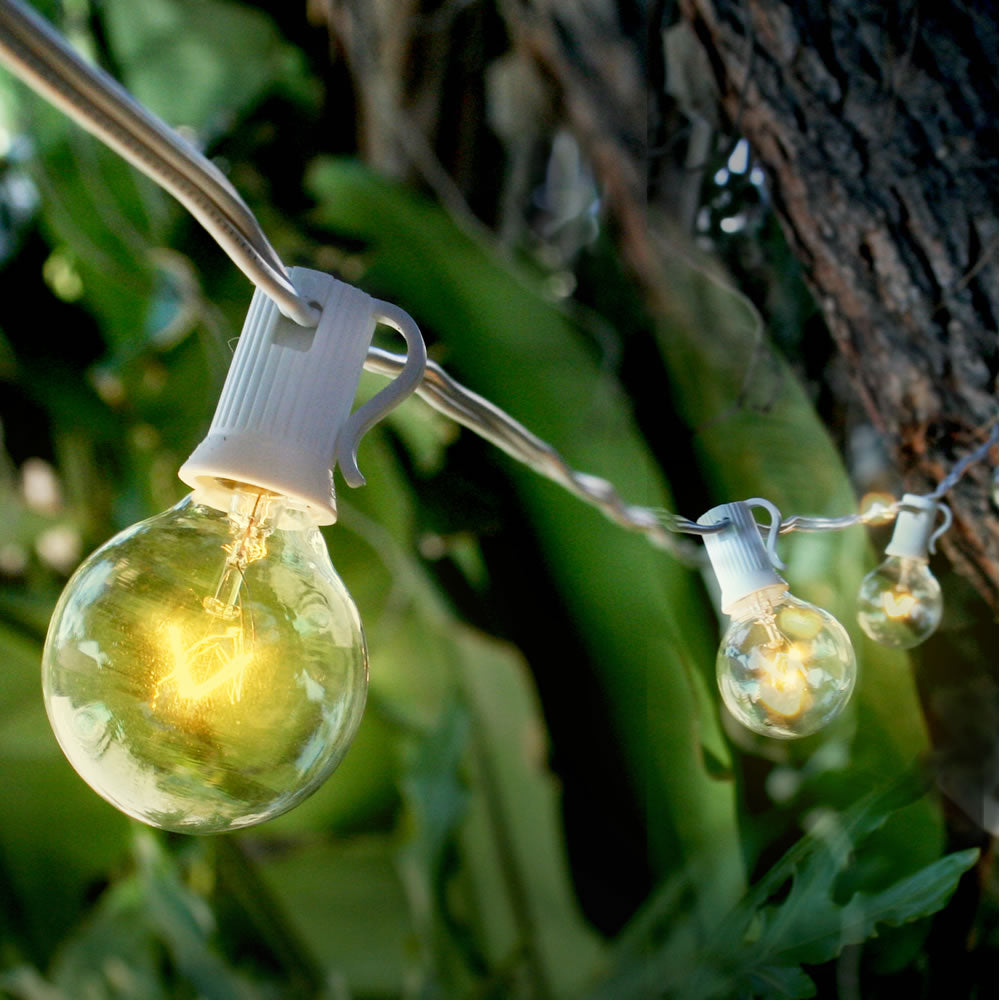
Shop unique styles in Halloween String Lights at Luna Bazaar!
Photographed by Maia Bissette and Kate Milliken Edited by Maia Bissette


Leave a comment (all fields required)